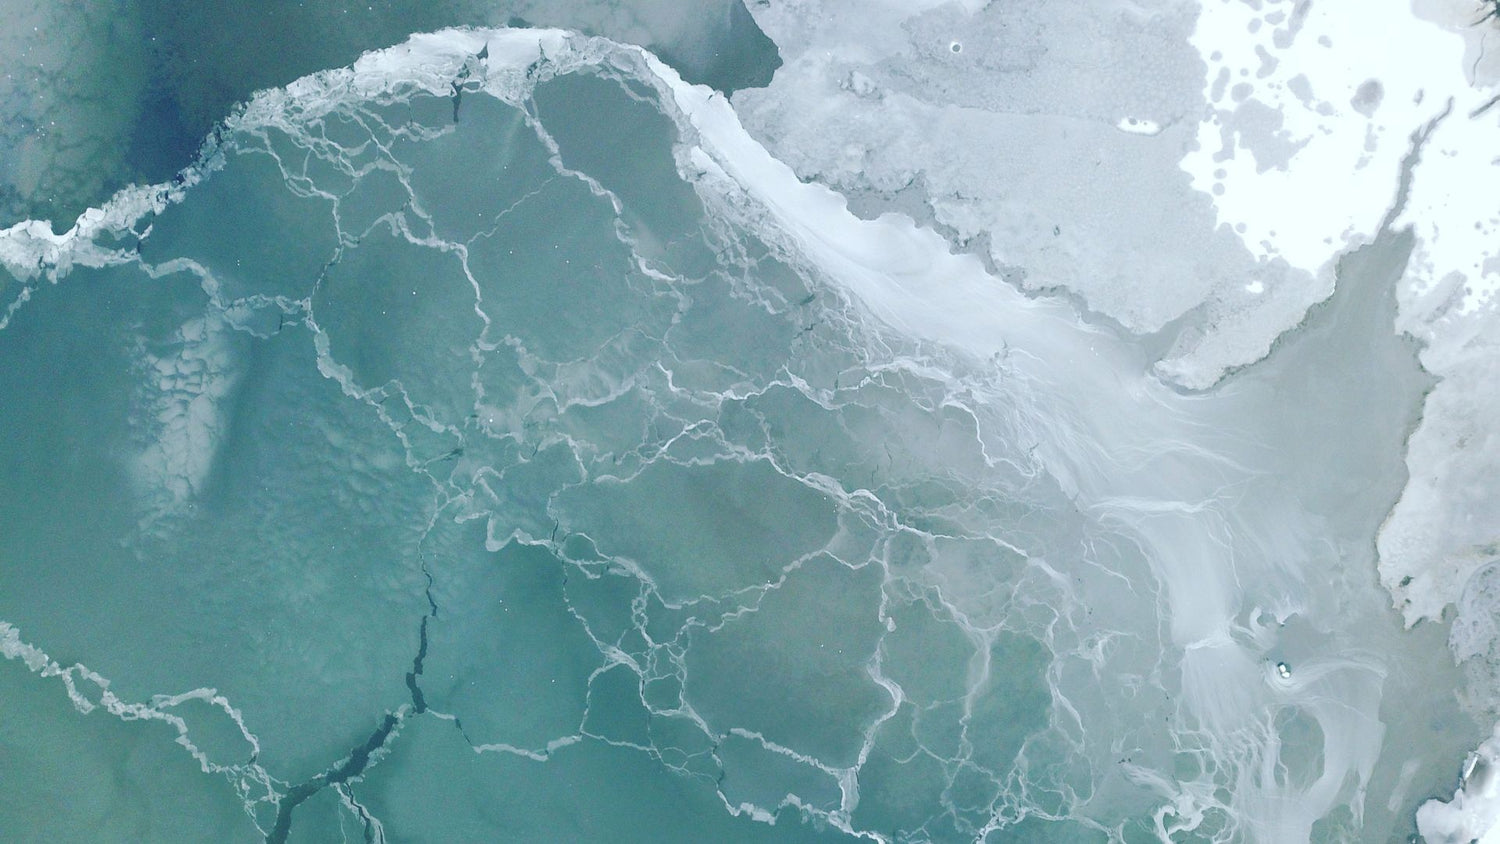
As much as emphasis should be placed on avalanche safety, there’s another danger, sometimes unpredictable, to consider during winter expeditions: Ice. Ice varies a great deal in strength; accordingly, so too should your choice to cross it.
Before Deciding to Cross
A number of factors affect the stability of ice. Consider them, and avoid dangerous crossings first and foremost.
- If you think the water is deep enough to submerse you, or moving fast enough to sweep you underneath it, don’t cross.
- Snow-covered ice may be thin, as snow insulates the water’s surface, limiting freezing.
- Slow-moving or standing water is more likely to be frozen solid enough to hold your weight. Avoid ice over the fastest current of moving water.
- Spots where streams enter and leave lakes are notorious for thin ice.
- Springs bringing water into a lake may create a thin spot that the locals should know about.
- Wind-scoured ice tends to be weaker than sheltered ice.
- Areas shadowed by trees or cliffs usually boast the thickest ice because the sun has less time to warm them.
- Objects sticking out of the ice, such as logs and rocks, sometimes trap and radiate solar energy, creating weak spots.
When You’re Crossing
If you do decide to cross a frozen body of water, take these precautions:
- If you have skis, keep them on to disperse your weight over a larger area.
- Tap the ice ahead of you with your ski or trekking pole. A solid “thunk” indicates thick ice, whereas a hollow “bonk” is a sign of thin ice.
- Carry a pair of ice picks on a string around your neck to aid your climb back onto the slippery surface if you do fall through.
If You Fall in
If you do find yourself surprised by thin ice, be prepared with an understanding of self-rescue and hypothermia. Use the techniques illustrated below to pull yourself to safety.

NOLS: Climb out of frozen water
Self rescue from ice: Think: 1 Minute, 10 Minutes, 1 Hour
When immersed in cold water, we immediately gasp and breathe rapidly. As cold-water immersion expert Gordon Giesbrecht teaches, this does not mean hypothermia has immediately set in. But there is great danger of drowning if your head goes underwater and you panic and inhale water. Instead, try to tread water slowly. Grab the edge of the ice and keep your head above the water. After about one minute, your gasping should subside and, as your skin becomes numb, the intensely uncomfortable cold sensation should wane.
You have another 10 minutes before your muscles become too cold to move effectively. Use this time to get out of the water or to secure yourself against drowning. It is much easier to do the mantle move up (illustrated above) onto the ice if you get your body more horizontal, with your legs behind you, so you only need to lift half of your body weight. This mantle move may be quite challenging, or impossible, on wet slippery ice without ice picks or someone pulling you toward the ice with a rope.
Another full hour will pass before your body temperature drops far enough to be critically hypothermic.
1 Minute, 10 Minutes, 1 Hour
This timeline, boils down to “1 minute, 10 minutes, 1 hour.”
- Control your breathing and survive the first minute.
- Then, you have 10 minutes to move carefully and thoughtfully asses the situation.
- You have an hour before becoming gravely hypothermic.
Armed with this knowledge, your key strategy should be prevention, but if you do find yourself falling through thin ice, don’t panic. To learn more about treating and preventing hypothermia, consider a NOLS Wilderness Medicine course and keep an eye on this blog for tips.


